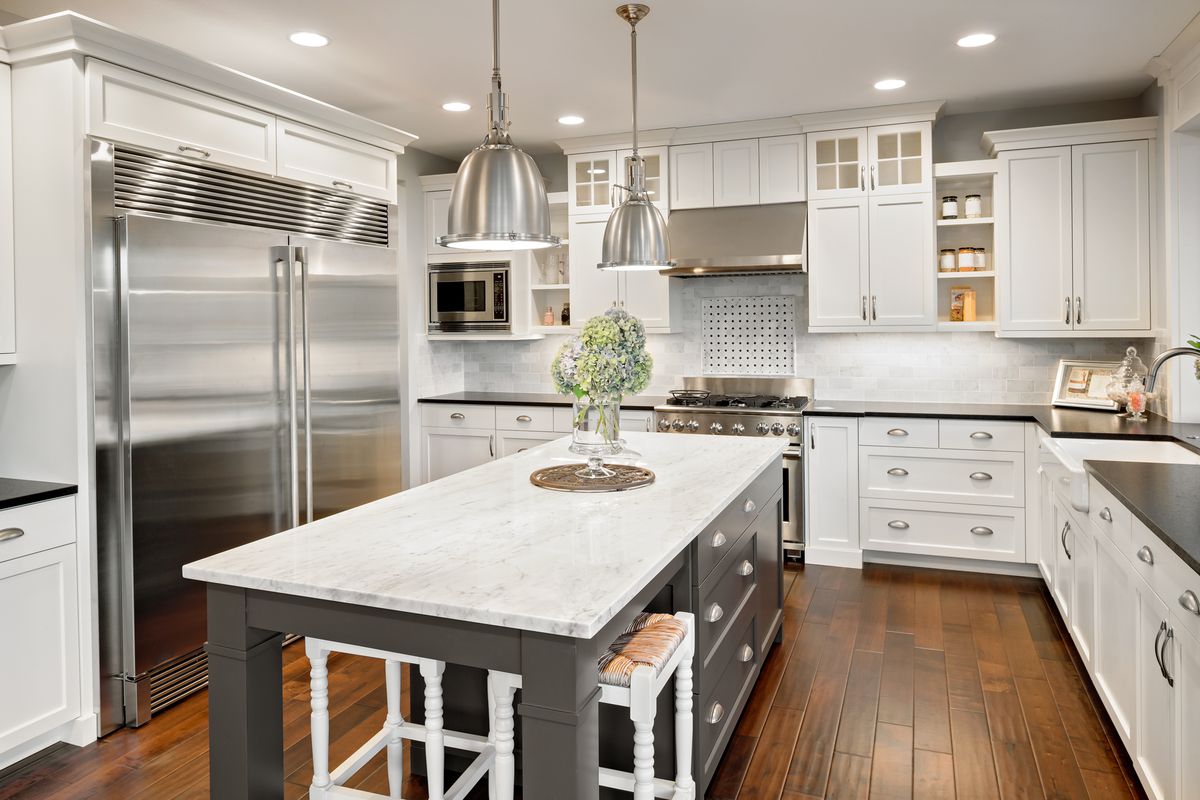
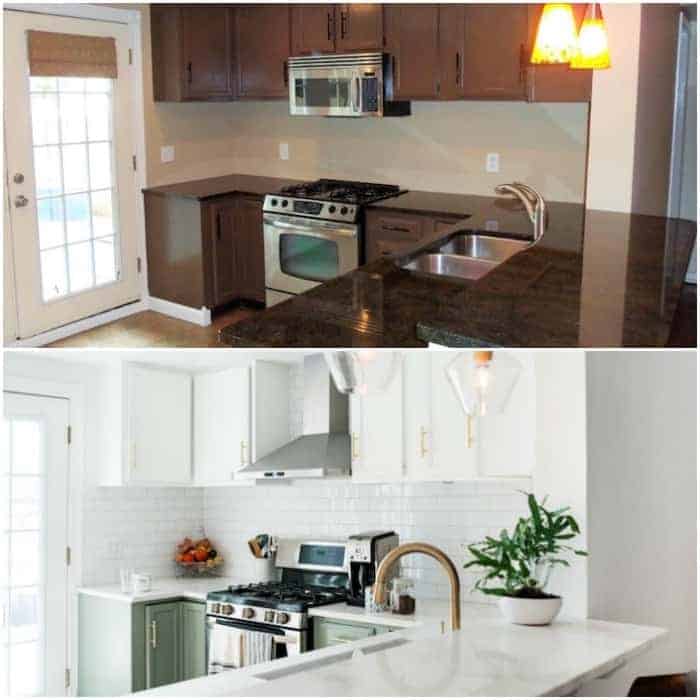
The untapped space beneath your home holds incredible possibilities waiting to be discovered. As we move into 2025, homeowners are increasingly recognizing their basements as valuable real estate that can dramatically enhance both living space and property value. Whether you’re considering a complete renovation or simple upgrades to an existing finished area, the right basement remodeling approach can transform this often-overlooked space into one of your home’s most cherished areas.
With the rising costs of housing and the growing trend toward maximizing existing square footage, basement renovations have become more popular than ever. According to recent statistics, a well-executed basement remodel can recoup up to 70% of your investment while providing additional functional living space for your family to enjoy.

Understanding Basement Transformation: Finishing vs. Remodeling
Before diving into specific design ideas, it’s important to understand the distinction between finishing and remodeling a basement. These terms are often used interchangeably, but they represent different approaches with varying scopes and budgets.
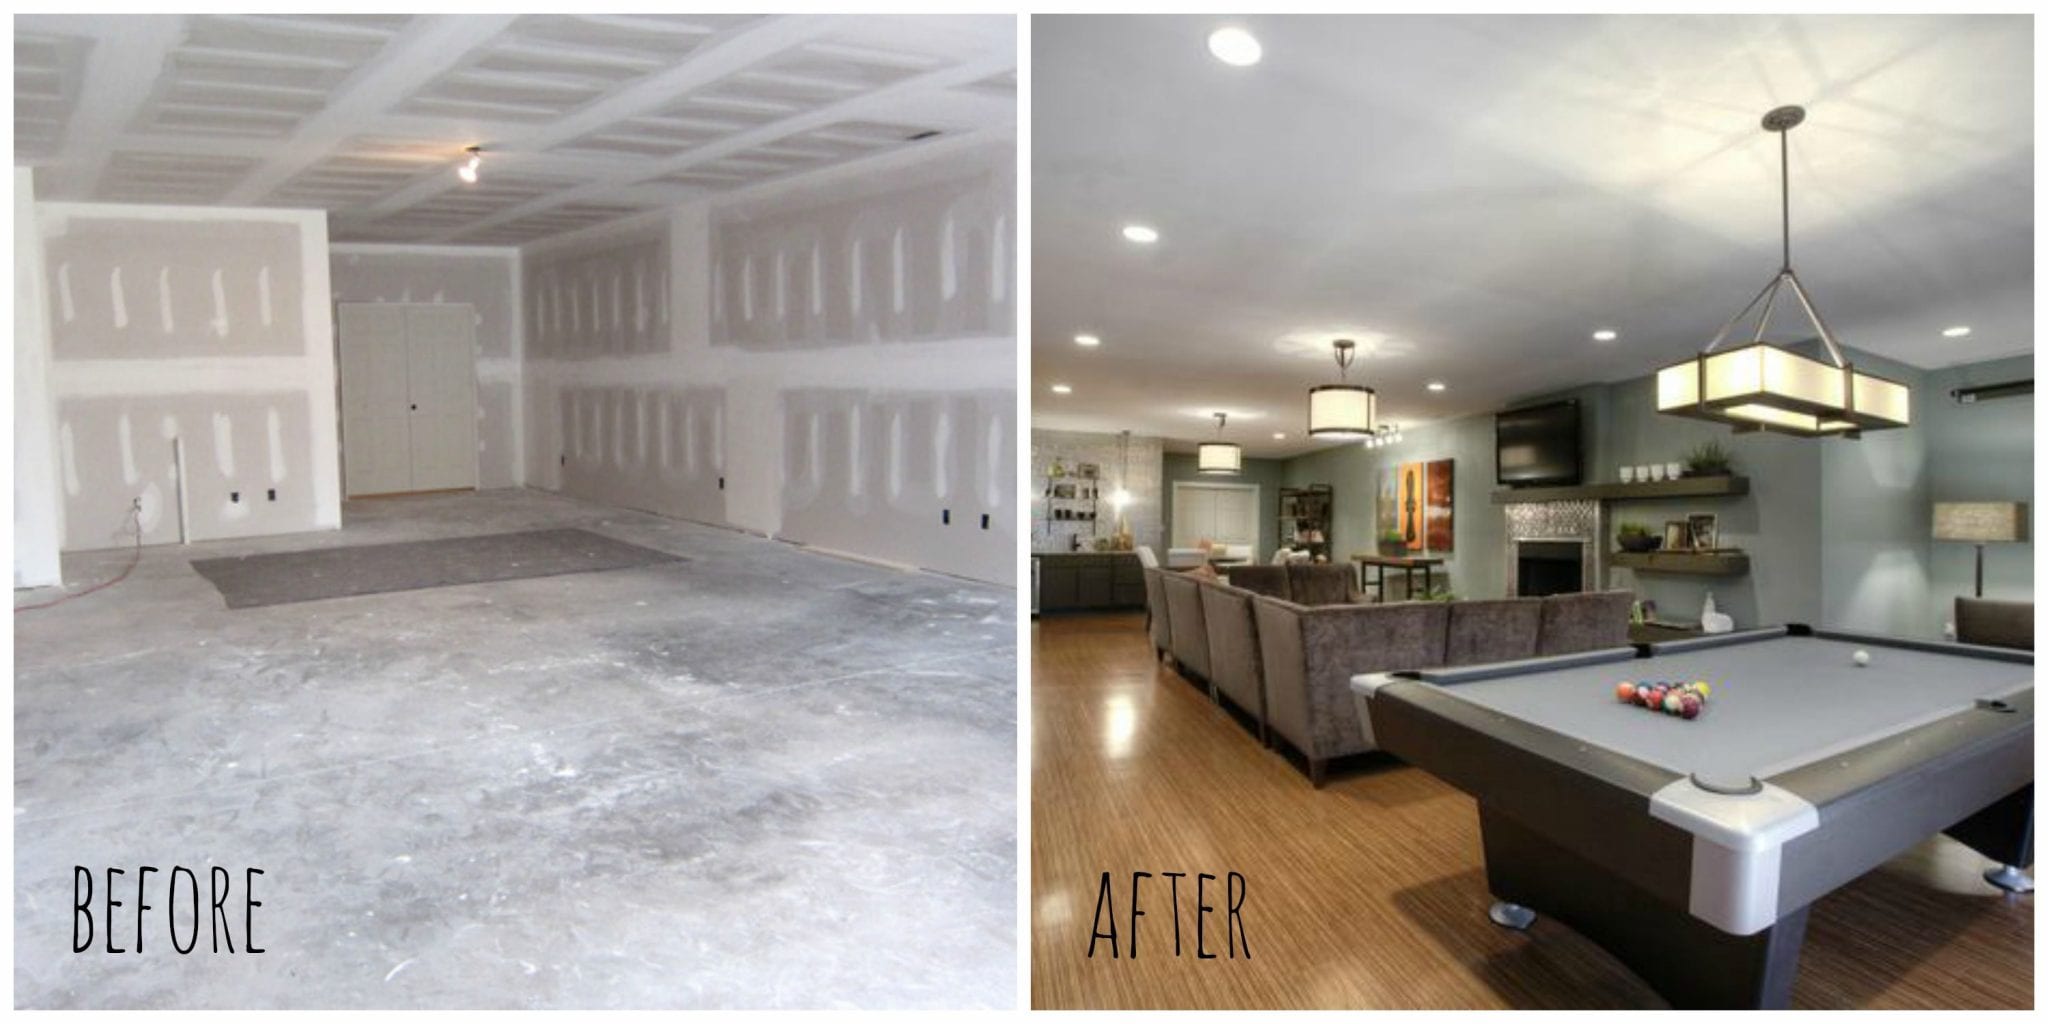
Finishing a basement typically involves converting a completely unfinished space into a habitable area. This process addresses fundamental elements like insulation, moisture control, wall framing, electrical work, plumbing, flooring, and basic lighting. The primary goal is to create a clean, safe, and functional space that meets building codes. Finishing projects focus on establishing the essential infrastructure needed for a usable room without necessarily incorporating specialized features or custom designs.
Many homes built before 1980 (which account for over half of US housing stock) have unfinished basements that present excellent opportunities for expansion. Finishing these spaces can significantly increase your home’s usable square footage without the expense of building an addition. The process typically includes installing proper moisture barriers, adding insulation, running electrical and perhaps basic plumbing, putting up drywall, adding appropriate lighting, and installing flooring suitable for below-grade applications.
Remodeling, by contrast, takes an already finished basement to the next level through customization and personalization. This approach might involve reconfiguring existing layouts, adding specialized features like home theaters or wet bars, upgrading finishes, and incorporating design elements that align with your specific lifestyle needs. Remodeling projects often focus on aesthetics and functionality tailored to particular activities or purposes.
Whether you’re starting with a concrete shell or updating an outdated finished space, understanding these distinctions will help you establish realistic expectations and budgets for your basement project. Many homeowners begin with basic finishing and gradually implement remodeling elements as their needs evolve and budgets allow.
Assessing Your Basement’s Potential: Key Considerations Before Starting
Before envisioning your dream basement, it’s crucial to evaluate the space’s existing conditions and limitations. This assessment will inform your design choices and help identify potential challenges before they become costly problems.
First, examine your basement for moisture issues. Even minor dampness can lead to mold growth and structural damage if not properly addressed. Look for water stains, efflorescence (white mineral deposits on walls), or musty odors that might indicate moisture problems. Consider installing a dehumidifier to maintain optimal humidity levels between 30-50%. For basements with persistent moisture issues, professional waterproofing measures may be necessary before proceeding with any finishing work.
Next, measure your ceiling height, as this will impact what’s possible in your space. Most building codes require a minimum ceiling height of 7 feet for habitable rooms, though some jurisdictions allow exceptions for existing structures. Low ceilings might limit certain design options but can be worked around with creative lighting and thoughtful furniture selection. In some cases, the floor can be lowered to gain additional height, though this represents a significant undertaking.
Evaluate your basement’s access points and natural light sources. Egress windows are not just desirable for bringing in natural light—they’re often required by code for basement bedrooms to provide emergency exits. If your basement lacks adequate windows, consider whether adding or enlarging openings is feasible within your budget and structural constraints.
Finally, take stock of existing mechanical systems. Furnaces, water heaters, electrical panels, and plumbing stacks typically reside in basements and will need to remain accessible. Rather than viewing these elements as obstacles, consider how they might be incorporated into your design through creative enclosures or as features within a utility zone.
This preliminary assessment will provide a realistic foundation for your basement transformation plans and help you avoid unpleasant surprises during the renovation process.
Home Entertainment Havens: Creating the Ultimate Leisure Space
One of the most popular basement remodeling concepts continues to be the dedicated entertainment area. With its natural sound isolation and absence of glaring sunlight, a basement provides the perfect setting for immersive media experiences and recreational activities.
For movie enthusiasts, a home theater installation represents the pinnacle of basement entertainment. Modern projection systems offer cinema-quality viewing at increasingly affordable price points. Consider installing tiered seating with plush recliners to optimize sightlines and comfort. Acoustic panels can enhance sound quality while adding visual interest to walls. Complete the experience with dimmable lighting controlled via smartphone and a small kitchenette or bar area for refreshments during intermission.
Gaming zones have also gained tremendous popularity in basement designs. Whether you prefer classic arcade cabinets, pool tables, or console gaming stations, dedicating space to interactive entertainment creates a natural gathering spot for family and friends. Incorporate durable flooring that can withstand high traffic, adequate electrical outlets for gaming equipment, and comfortable seating arrangements that support both active play and spectating.
For those who entertain frequently, an open-concept recreation area might be ideal. This versatile approach combines multiple entertainment options within a flowing space. Imagine a layout featuring a comfortable seating area centered around a large-screen television, a bar or kitchenette along one wall, and space for table games like foosball or air hockey. This configuration maximizes flexibility and accommodates various group sizes and activities.
Don’t overlook the importance of storage in entertainment spaces. Custom cabinetry can house media collections, game accessories, and serving ware while contributing to the room’s aesthetic. Consider built-in solutions that maximize space efficiency and maintain a clean, uncluttered environment for relaxation and socialization.
Productive Spaces: Home Offices and Creative Studios
The dramatic shift toward remote work has elevated the importance of dedicated home workspaces. A basement office provides separation from household distractions while offering the convenience of a zero-commute workday.
When designing a basement home office, prioritize elements that enhance productivity and wellbeing. Proper lighting stands as perhaps the most critical consideration—particularly in spaces with limited natural light. Combine ambient ceiling fixtures with task lighting at work surfaces and accent lighting to prevent the cave-like feeling that can occur in below-grade rooms. If possible, position your desk near an egress window to benefit from natural light and periodic fresh air.
Acoustics also deserve special attention in basement offices. The concrete walls that effectively block external noise can create echo effects within the space. Incorporate sound-absorbing materials through area rugs, upholstered furniture, fabric wall panels, or acoustic ceiling treatments to create a comfortable acoustic environment for video conferences and concentration.
For creative professionals, a basement studio offers expansive possibilities. Photographers can install backdrop systems and lighting rigs without space constraints. Musicians benefit from the natural sound isolation, particularly when additional acoustic treatments are added. Visual artists appreciate the controlled lighting environment and opportunity for built-in storage solutions for supplies and works in progress.
Consider including a small seating area or daybed in your office or studio design. This secondary space provides a change of scenery for reading or contemplation and can double as accommodation for overnight guests when needed. A compact refreshment station with a mini-fridge and coffee maker minimizes trips upstairs during focused work sessions.
Regardless of your professional needs, incorporating biophilic elements—such as preserved moss walls, high-quality artificial plants, or specialized grow lights for living plants—can significantly enhance the psychological comfort of underground workspaces.
Guest Accommodations: Creating Welcoming Spaces for Visitors
Transforming part of your basement into guest quarters provides valuable flexibility for accommodating visitors while maintaining privacy for both hosts and guests. With thoughtful design, these spaces can rival the comfort and amenities of boutique hotels.
The foundation of any guest suite is a comfortable sleeping area. Consider the available space when selecting between a standard bed, murphy bed, or high-quality sleeper sofa. Even in compact basements, built-in storage solutions can eliminate the need for space-consuming dressers. Wall-mounted lighting fixtures free up precious nightstand space while providing adequate illumination for reading.
A private bathroom dramatically enhances guest comfort. If plumbing rough-ins don’t already exist, consult with a professional about the feasibility of adding them. Even a compact three-quarter bathroom with a shower, toilet, and sink provides essential functionality. Consider upgraded features like heated flooring, which is particularly appreciated in basement bathrooms where floors tend to feel colder.
For extended stays, a small kitchenette offers welcome convenience. This might be as simple as a dedicated nook with a microwave, mini-fridge, and coffee station, or as elaborate as a galley kitchen with a compact cooktop and sink. Providing these amenities allows guests to manage simple meals and refreshments independently.
Pay special attention to the psychological comfort of basement guest spaces. Egress windows not only meet safety requirements but also provide natural light and visual connection to the outdoors. In areas without windows, consider technologies like virtual skylights or programmable lighting systems that mimic natural daylight patterns to prevent the disorienting feeling that can occur in windowless rooms.
These guest accommodations can potentially serve double-duty as short-term rental spaces when not occupied by friends and family, providing additional return on your renovation investment.
Fitness and Wellness Sanctuaries: Home Gyms and Relaxation Areas
The basement’s isolation and structural characteristics make it ideally suited for fitness activities that might otherwise disturb the household or neighbors. Creating a dedicated wellness zone eliminates commuting time to commercial facilities and removes common barriers to consistent exercise.
When designing a basement gym, flooring selection deserves primary consideration. Rubber tiles or rolled rubber flooring protect the subfloor from equipment weight while providing necessary cushioning for joints during high-impact activities. For yoga or Pilates areas, consider warmer options like cork or engineered wood with appropriate underlayment.
Strategic mirror placement serves both functional and aesthetic purposes in fitness spaces. Mirrors allow for form checking during exercises while visually expanding the space and reflecting light. Consider floor-to-ceiling installations on at least one wall, properly secured to prevent any safety hazards.
Ventilation represents a critical but often overlooked aspect of basement gyms. Intense physical activity generates heat and humidity that can lead to moisture problems if not properly addressed. Consider supplemental ventilation options like ceiling fans, portable air purifiers, or even mini-split systems that provide both cooling and dehumidification.
Beyond traditional workout equipment, consider incorporating wellness elements that promote recovery and stress reduction. A dedicated meditation corner with comfortable seating, appropriate lighting, and perhaps a small water feature creates space for mental restoration. For those with adequate space and budget, infrared saunas or steam showers offer luxury spa experiences at home.
Storage solutions specifically designed for fitness equipment maintain organization and safety. Wall-mounted racks for weights, yoga mats, and resistance bands keep floors clear and equipment accessible. Closed cabinetry conceals smaller items and contributes to a clean, uncluttered environment conducive to focused exercise.
Family-Friendly Zones: Playrooms and Multi-Generational Spaces
Basements offer ideal settings for dedicated children’s areas, allowing for uninhibited play without disrupting main living areas. These spaces can evolve as children grow, providing long-term value through adaptable design.
For families with young children, safety considerations should guide basement playroom design. Ensure that all electrical outlets have tamper-resistant covers, furniture is properly anchored, and stairways are secured with appropriate gates. Flooring should be soft enough to cushion falls while remaining easy to clean—options like foam interlocking tiles, low-pile carpet with premium padding, or luxury vinyl plank with area rugs offer good balance between comfort and practicality.
Storage systems that encourage organization teach valuable skills while maintaining order. Consider open shelving at child height for frequently used items, combined with closed cabinetry for supplies requiring adult supervision. Rotating toy collections between visible and stored locations can prevent overwhelming clutter while keeping play experiences fresh and engaging.
As children grow, these spaces can transition to support changing interests. A toddler playroom might evolve into a game room for older children, then a teen hangout space, and eventually a multi-purpose family room. Building flexibility into your initial design through modular furniture and adaptable storage systems facilitates these transitions without requiring complete renovation.
Multi-generational considerations are increasingly important in modern home design. Basements can provide semi-independent living spaces for aging parents or adult children transitioning between life stages. Incorporating universal design principles—such as zero-threshold showers, lever door handles, and adequate clearances for potential mobility devices—ensures the space remains accessible regardless of physical abilities.
Thoughtful acoustic management between basement zones allows for simultaneous activities without conflict. Insulating interior walls, using solid-core doors, and implementing soft surfaces through furnishings and textiles helps contain sound and create harmonious multi-functional environments.
Income-Generating Potential: Basement Apartments and Rental Spaces
Converting your basement into a rental unit can provide significant supplemental income while addressing housing shortages in many communities. However, this approach requires careful planning to meet legal requirements and create truly desirable living spaces.
Before proceeding with an income-generating basement conversion, thoroughly research local zoning regulations, building codes, and permit requirements. Many municipalities have specific provisions regarding basement apartments, including minimum ceiling heights, window dimensions, separate entrances, and parking allocations. Some areas may require rezoning or special permits for legal basement rentals.
Creating a separate entrance enhances privacy for both homeowners and tenants while meeting safety requirements. This might involve installing exterior stairs to an existing door or creating a new entry point with appropriate weatherproofing and security features. Consider how tenants will access the property and whether pathways require lighting or other safety enhancements.
Efficient space planning becomes crucial when designing self-contained living quarters within basement confines. Studio or one-bedroom layouts typically work best, with clear delineation between sleeping, living, and kitchen areas even within open-concept designs. Built-in furniture and multi-functional pieces maximize usable space without creating a cramped atmosphere.
Soundproofing between your living space and the rental unit protects privacy and comfort for all occupants. This typically involves insulating shared ceiling/floor assemblies, sealing potential sound pathways like ductwork and plumbing penetrations, and potentially installing resilient channels before drywall to reduce sound transmission.
When marketing your basement apartment, highlight unique advantages like naturally cool temperatures in summer, potential utility savings, and separation from street noise. Quality finishes, thoughtful amenities, and attention to natural light sources can command premium rental rates and attract responsible, long-term tenants.
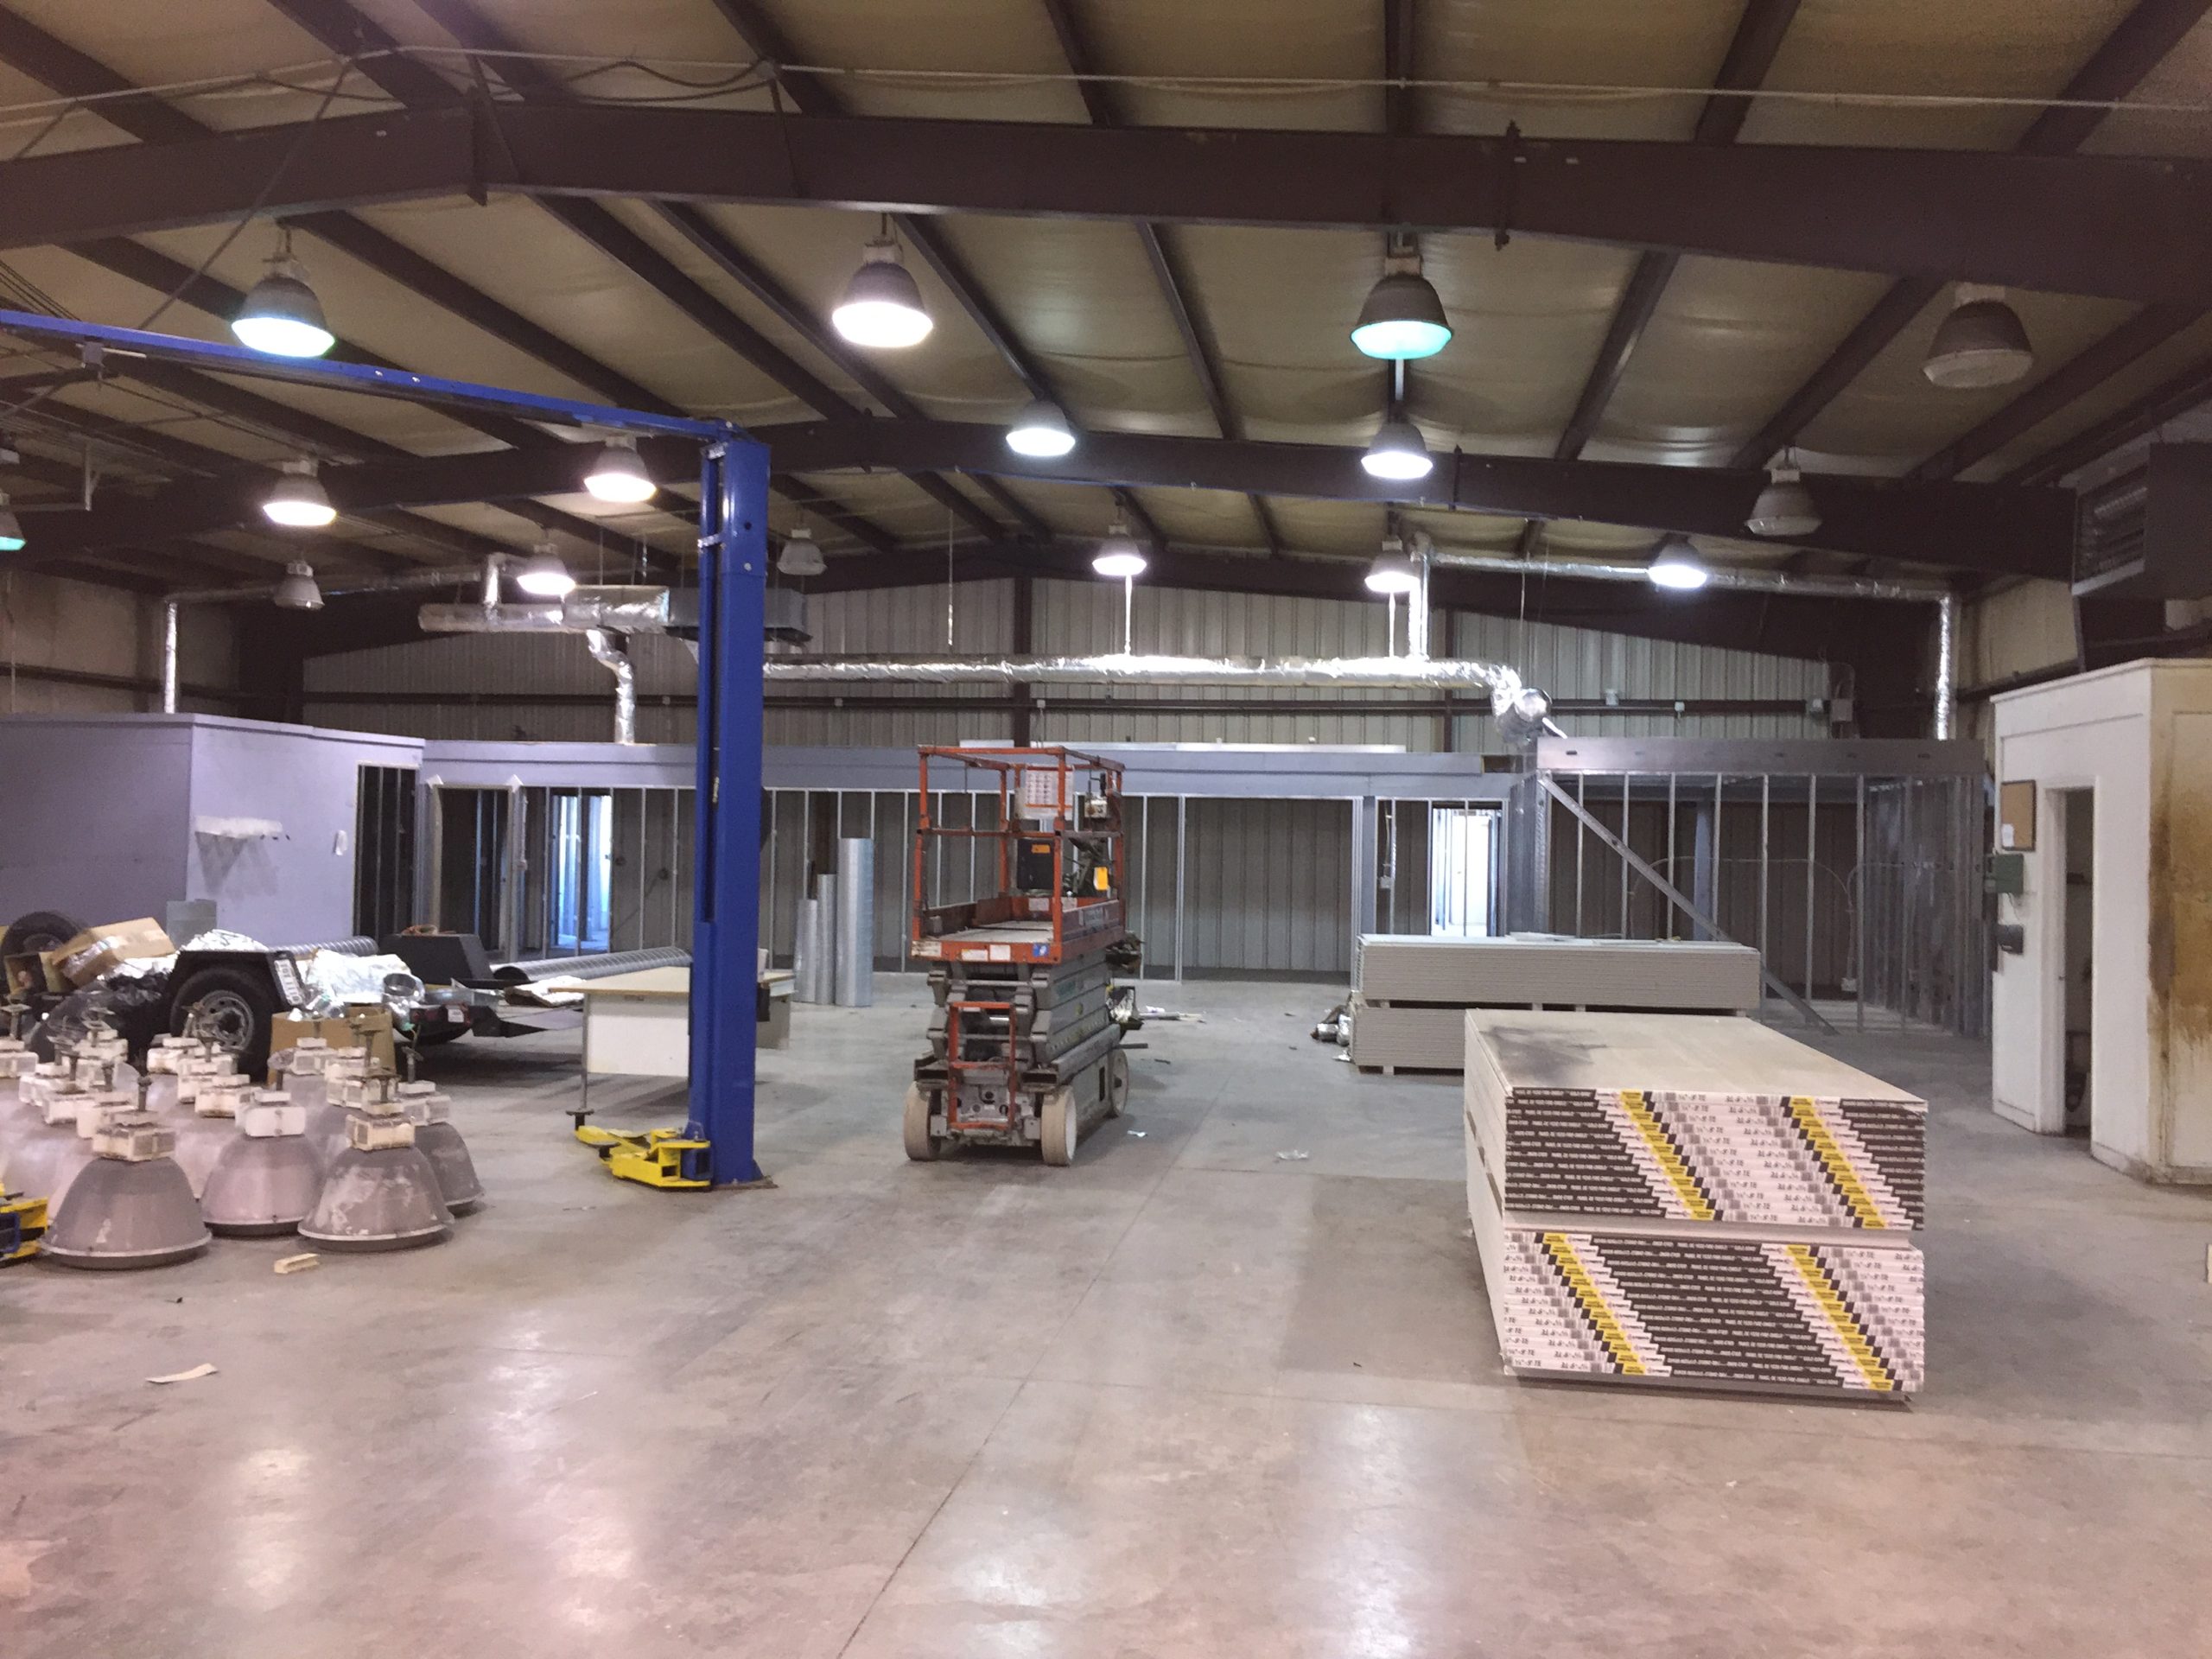
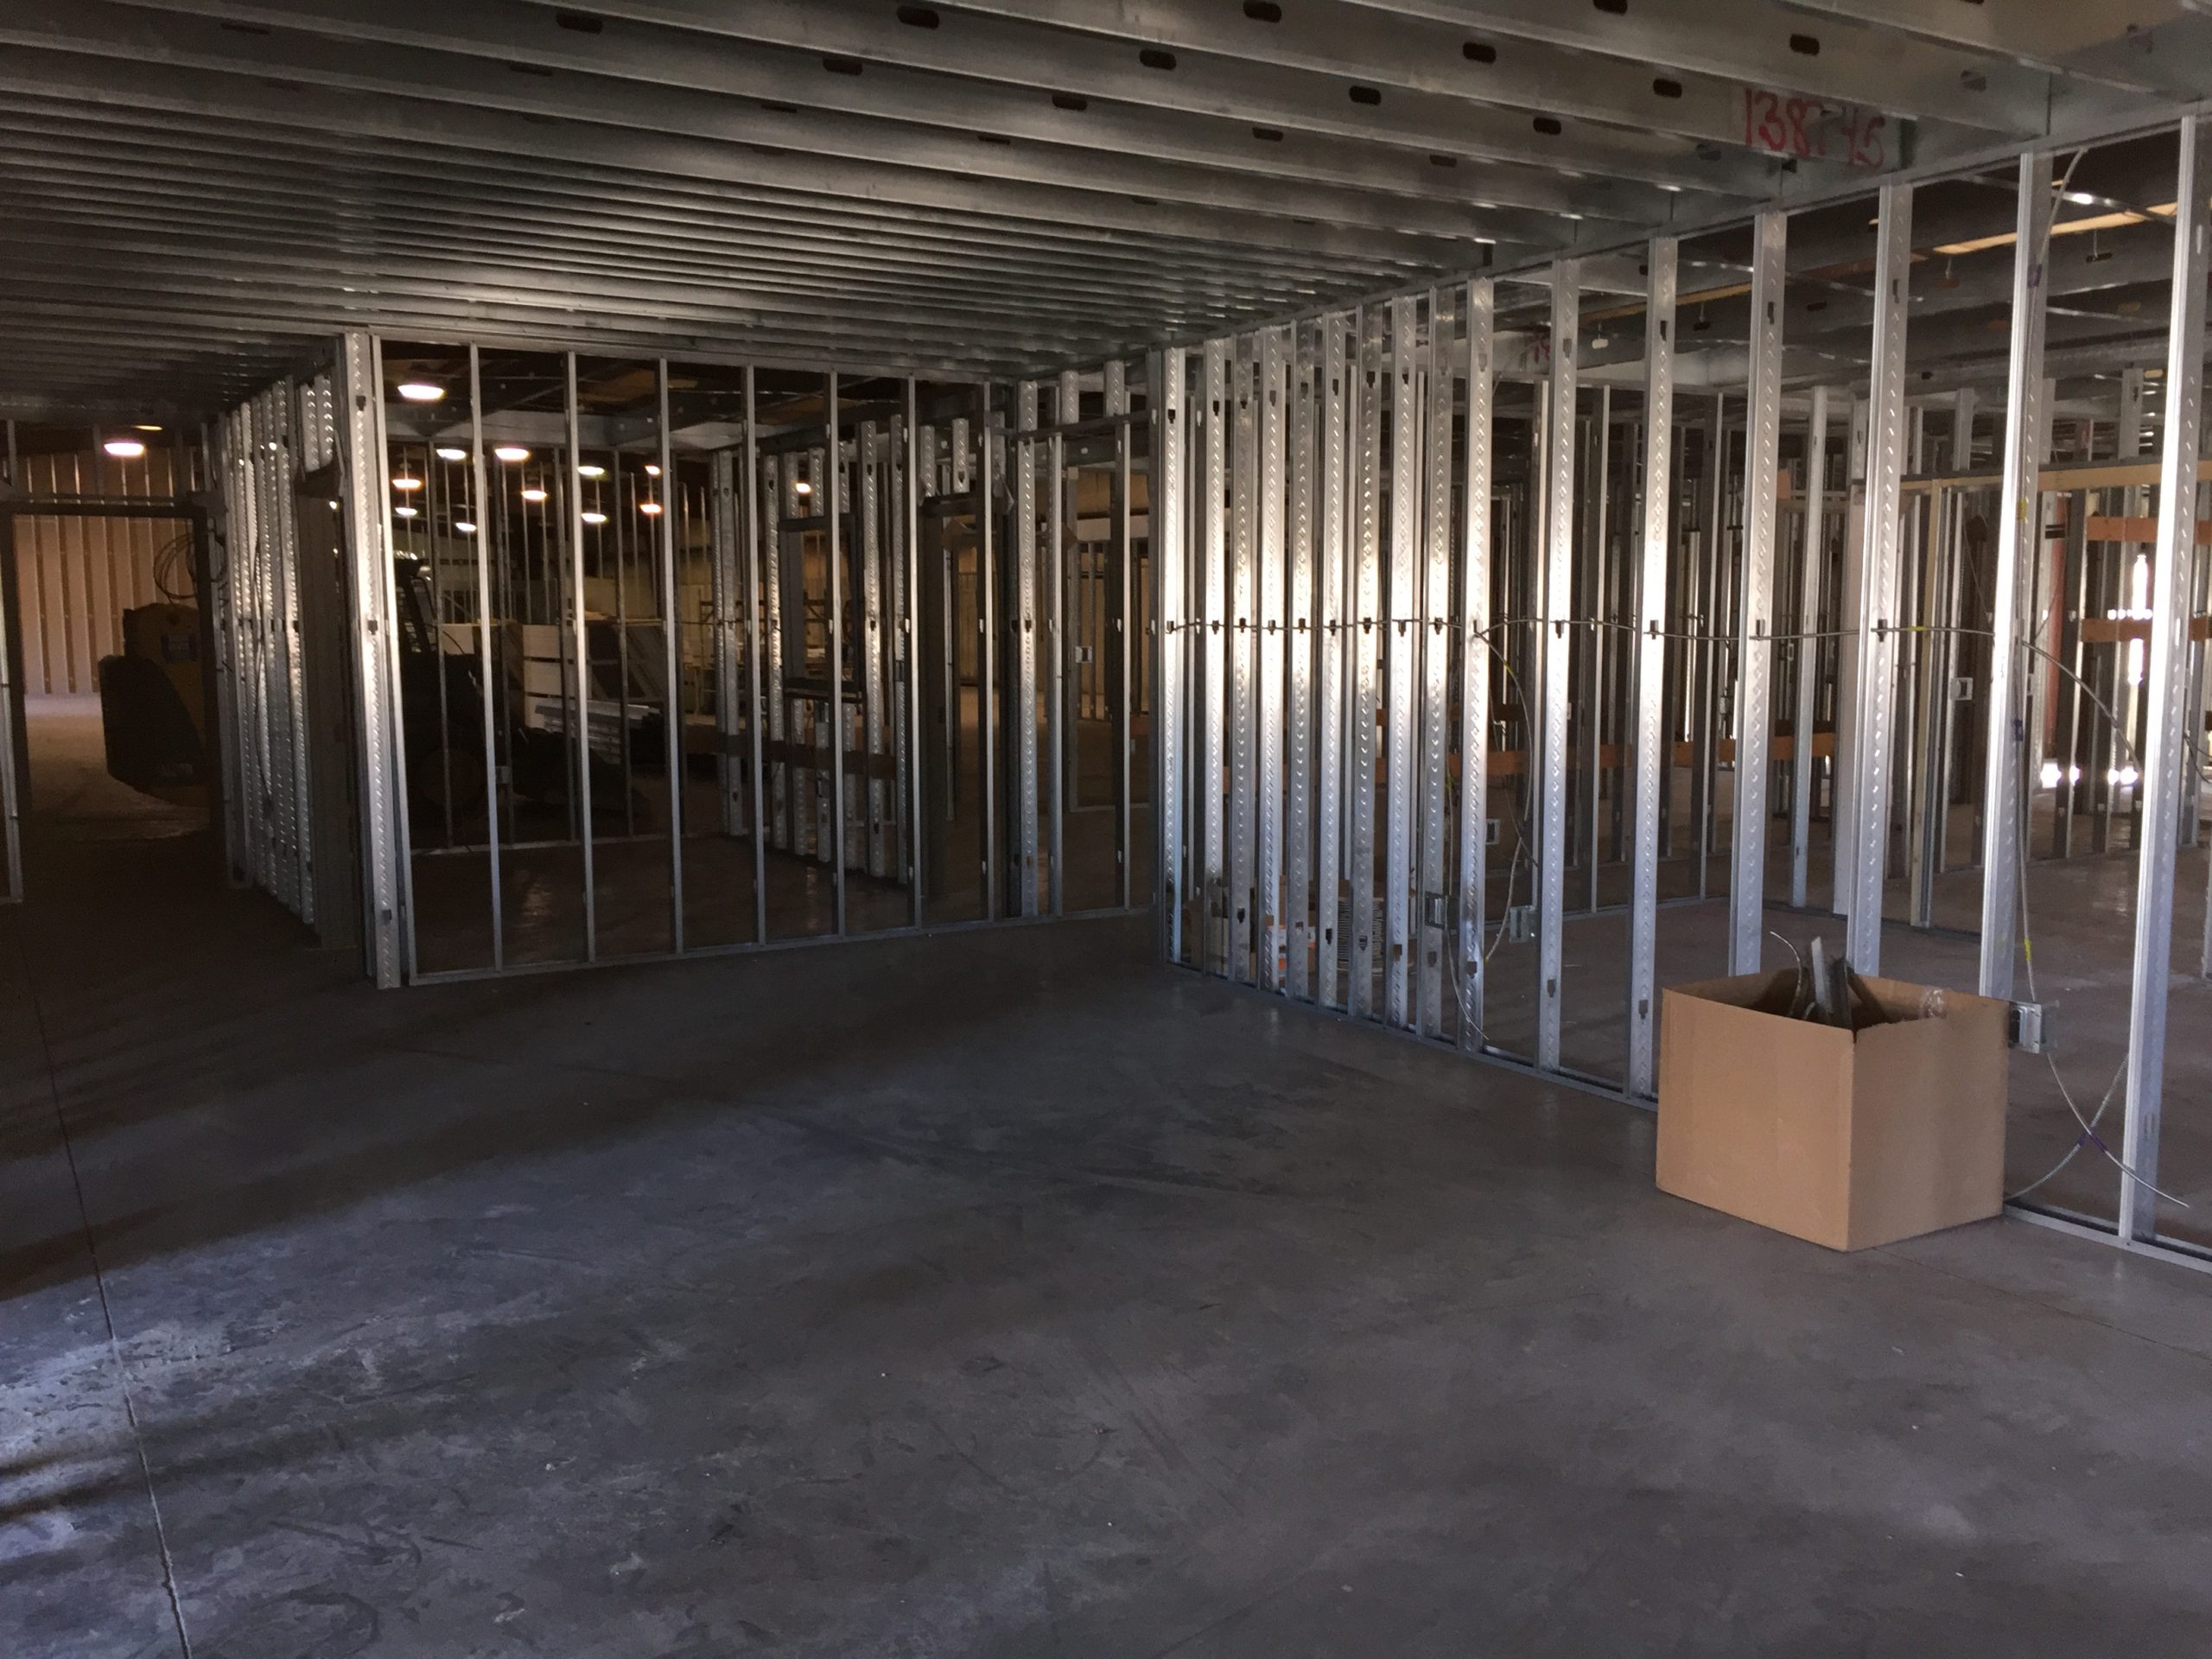
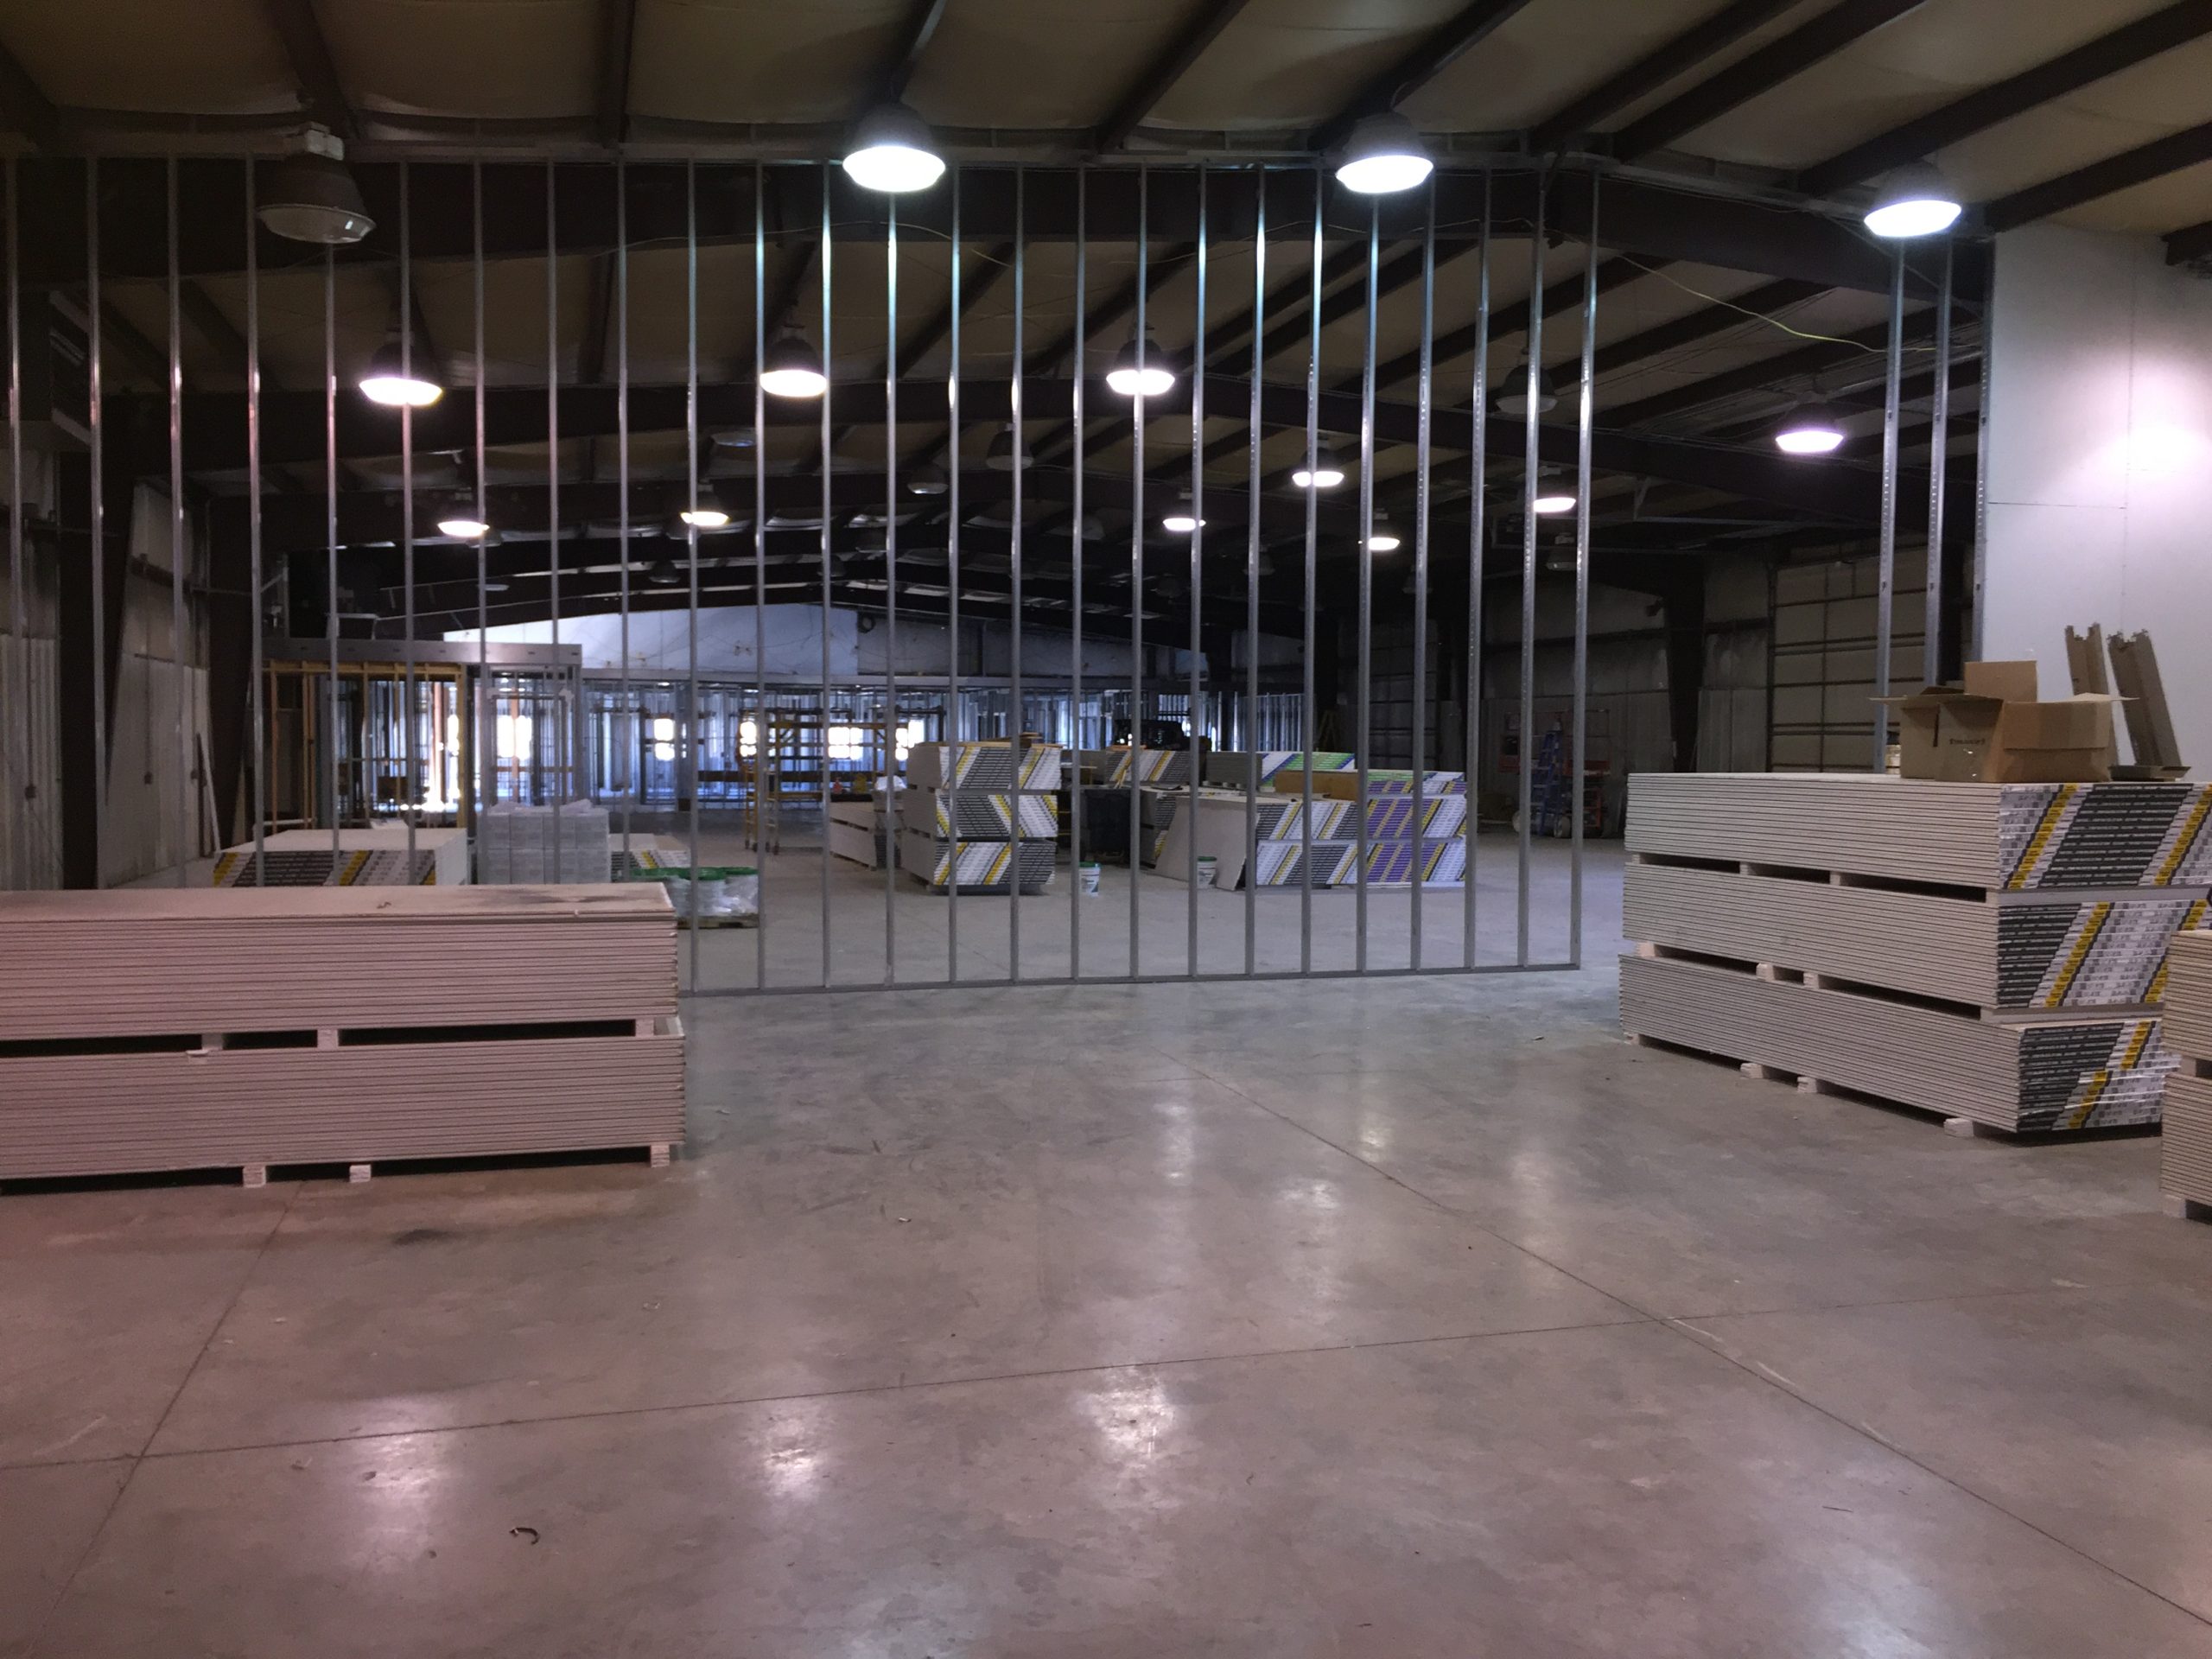
We Remodel Basements
Are you looking to unlock the hidden potential of your home’s lower level? Basement remodeling services can help you transform that dark, underutilized space into a vibrant and functional area that adds value to your property.
> Learn More
These are cutting-edge basement remodeling concepts, practical considerations, and innovative design approaches to help you envision the perfect underground retreat. From entertainment zones to income-generating apartments, we can help you transform your basement to serve you and your family best.
Contact Us (513) 769-5044 for a Consultation!
—
About Business Concepts Remodeling

Building Concepts specializes in custom remodeling projects across the Greater Cincinnati Area. Our comprehensive residential and commercial experience has built a reliable reputation you can trust. Every day, we work to build trust through communication and attention to detail. We strive to enhance the lives of our clients by providing high quality solutions with hands on service. Throughout the remodeling project, minimal disruption to your home or office is our highest priority.
> Learn More

 Basement waterproofing is an essential aspect of home maintenance that often gets overlooked until problems arise. A damp or wet basement can lead to a host of issues, including mold growth, structural damage, and compromised indoor air quality. This guide will walk you through the critical steps to waterproof your basement effectively, ensuring that your remodeling efforts are not undermined by moisture problems.
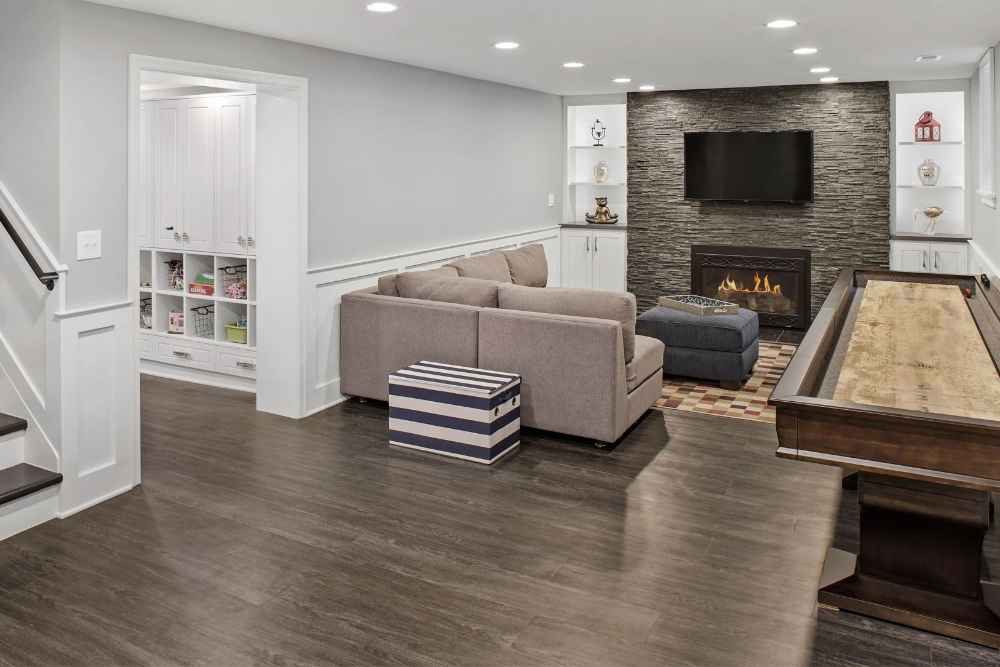
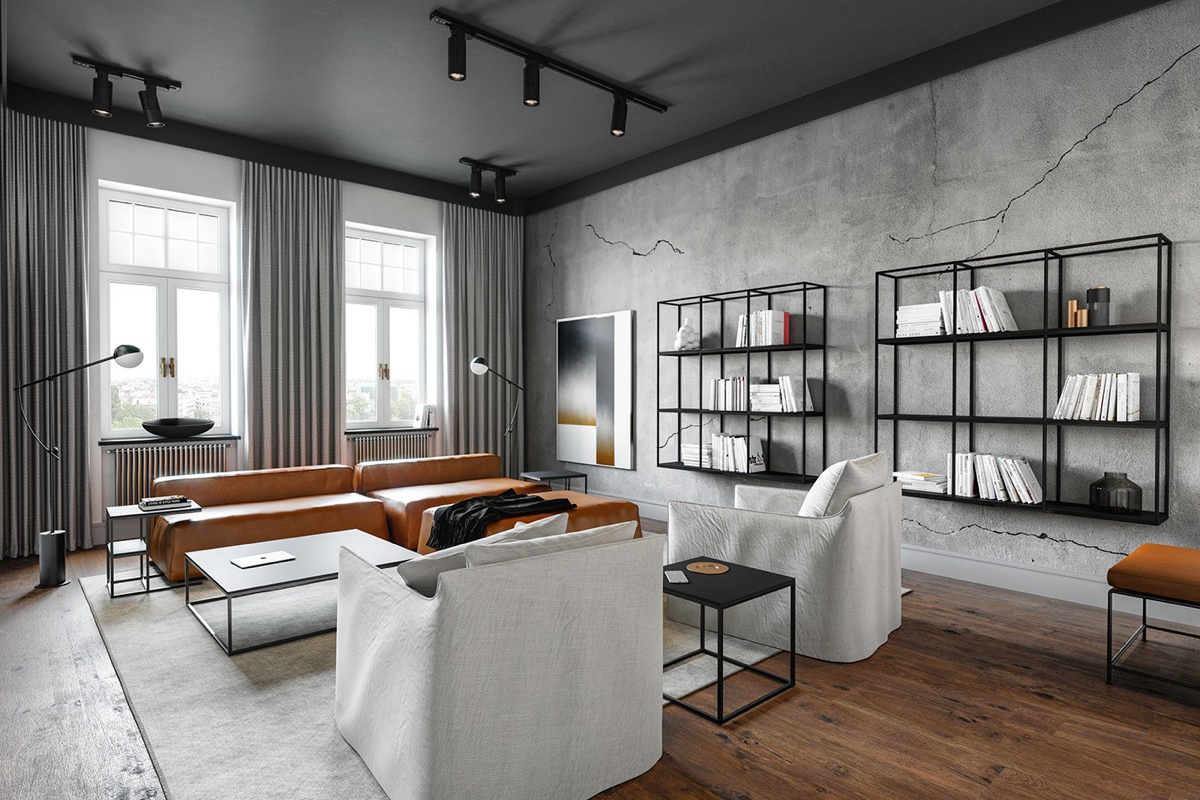
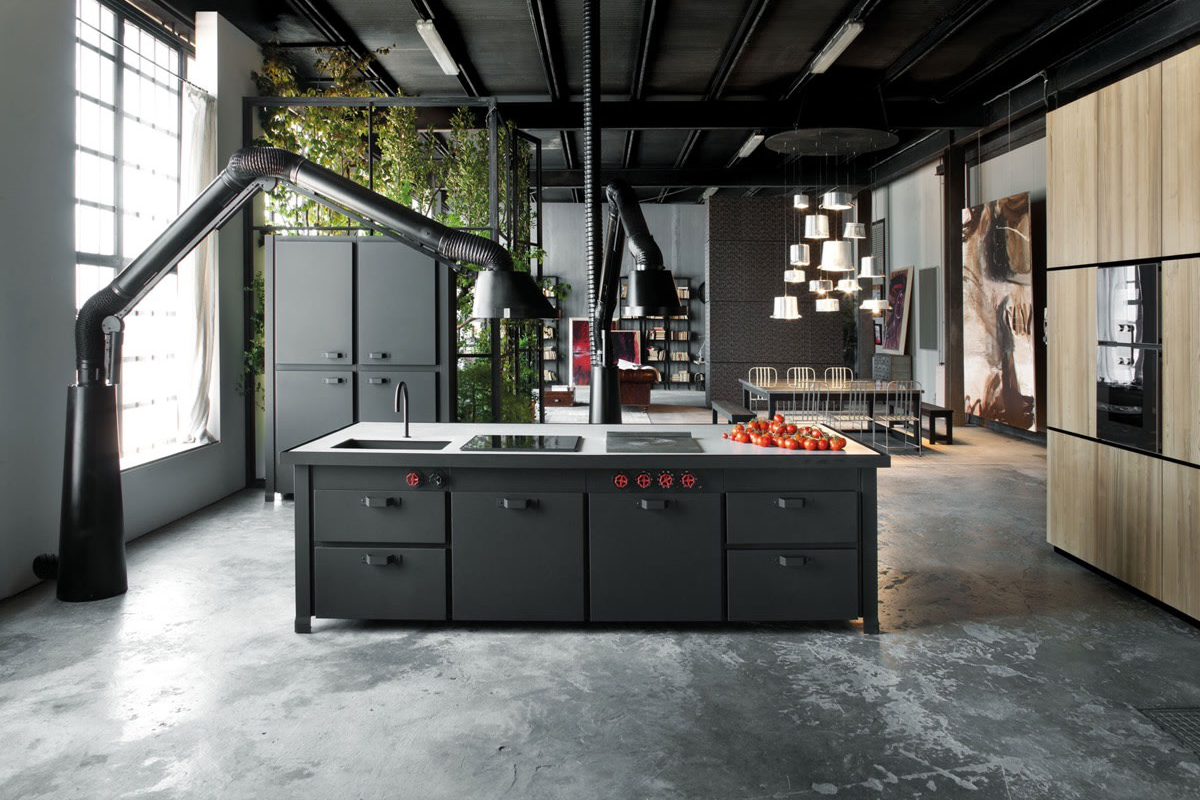
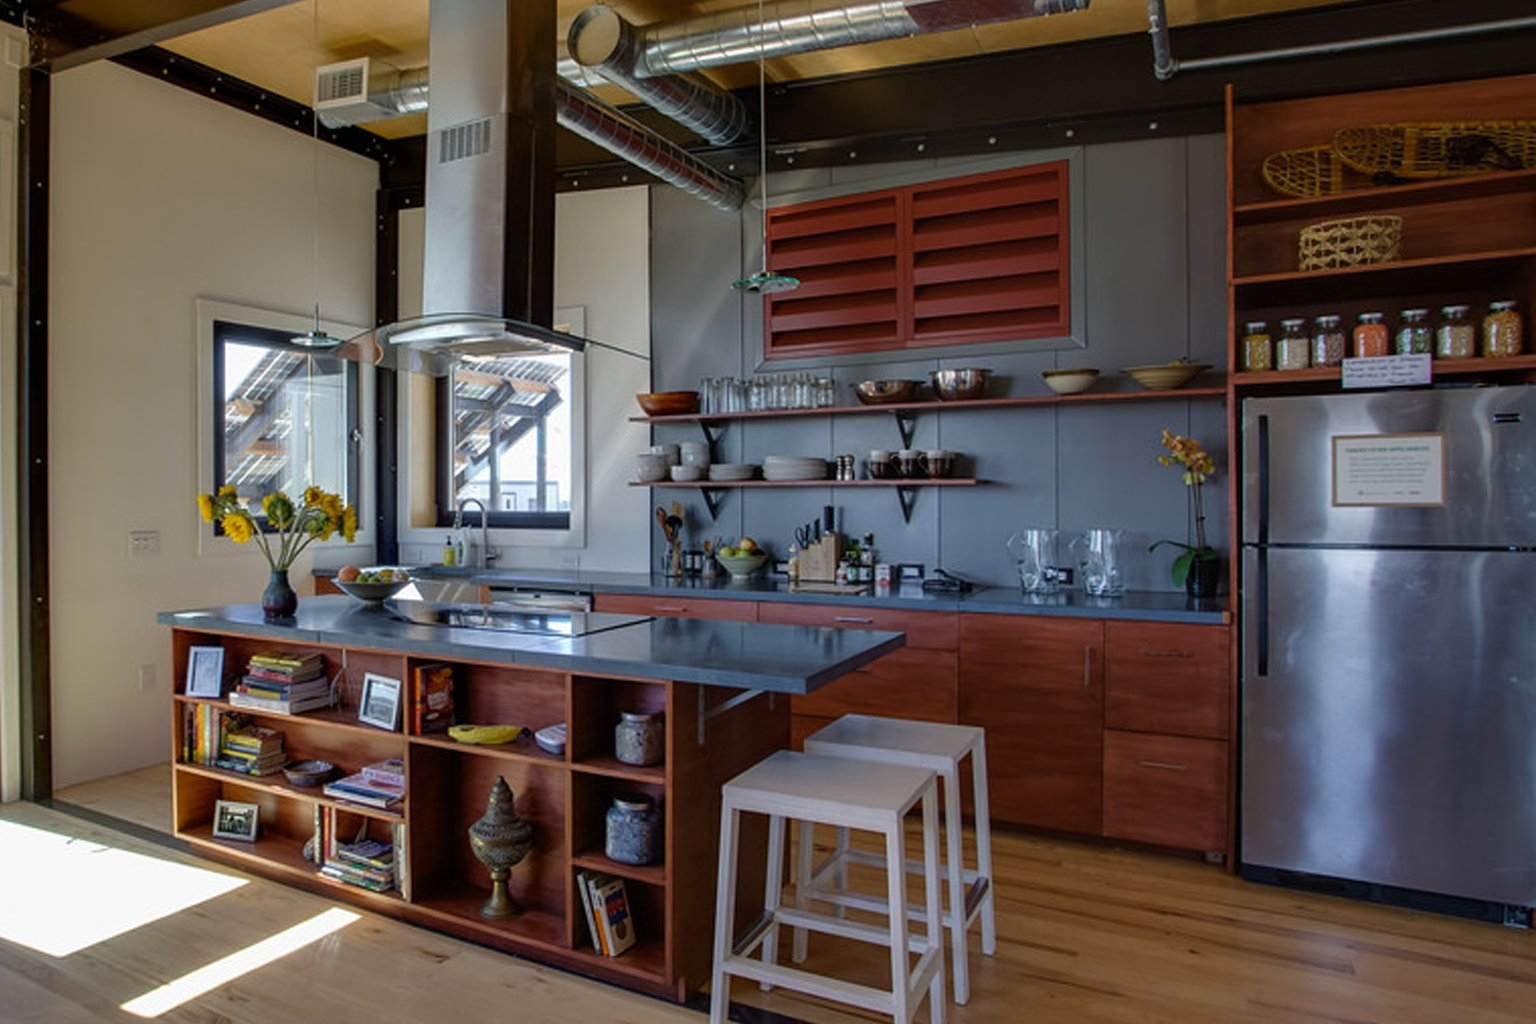
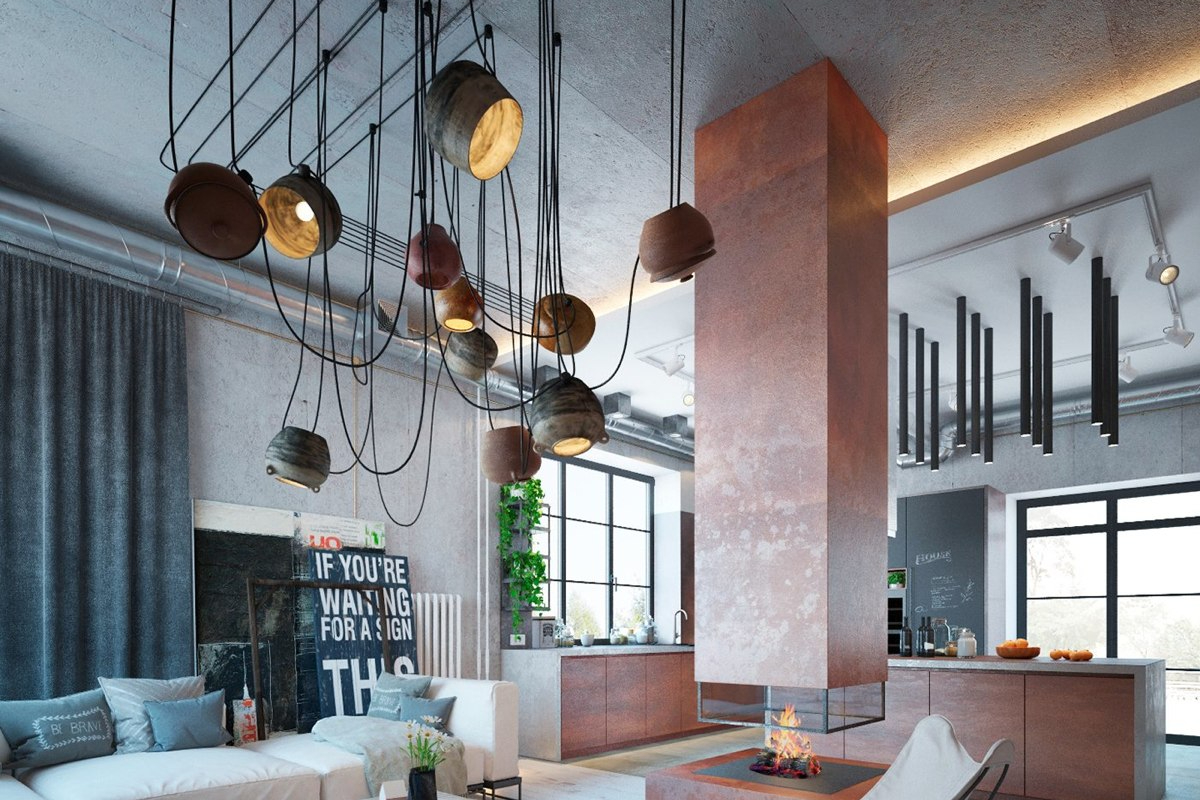
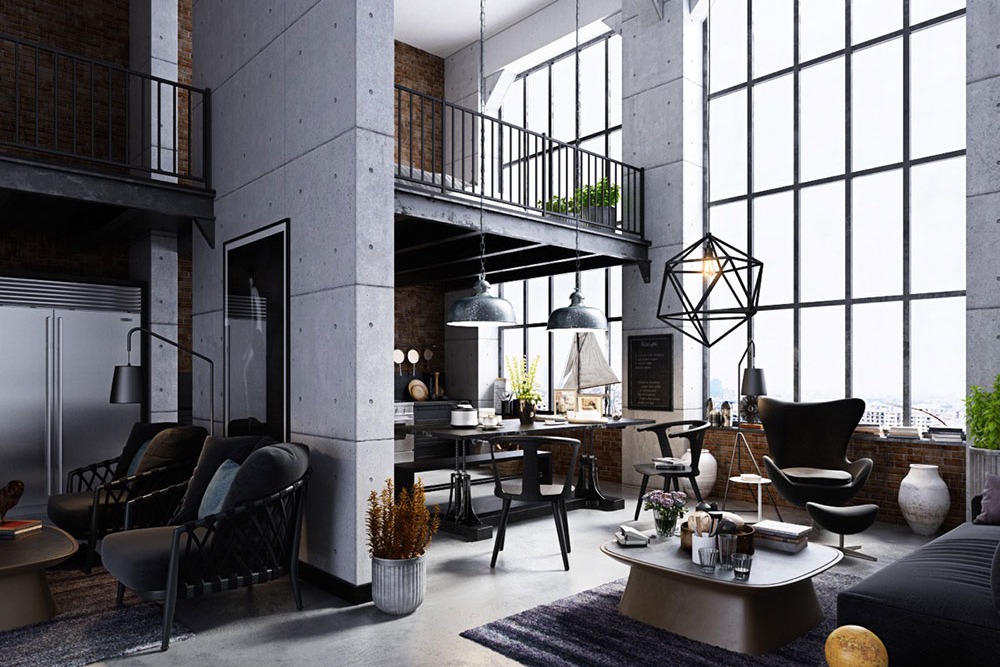
 Industrial homes replicate the raw, unfinished feel of warehouses through the use of rough materials and repurposed products. This style ranges from fully converted urban lofts and commercial buildings to traditional homes with industrial home design. Industrial style incorporates rough metal, concrete, cinder block, cables, bolts and exposed brick in both the architecture and decor. It has an edgy, unpolished feel, though industrial architecture is not always paired with industrial home decor. In the past few years, industrial design has become increasingly popular and it’s easy to see why. The look is based on combining the best aspects of old-world charm with modern sleekness. In essence, it’s a perfect compromise. However, there’s one big misconception keeping this style from becoming a household staple. Typically when we think of industrial design we think of lofts and big open windows and exposed brick. In the suburban atmosphere we may feel the design is not traditional enough. We are here to tell you you couldn’t be further from the truth. We would like to give you a few suggestion of how every room in your home can benefit from a dose of industrial style.
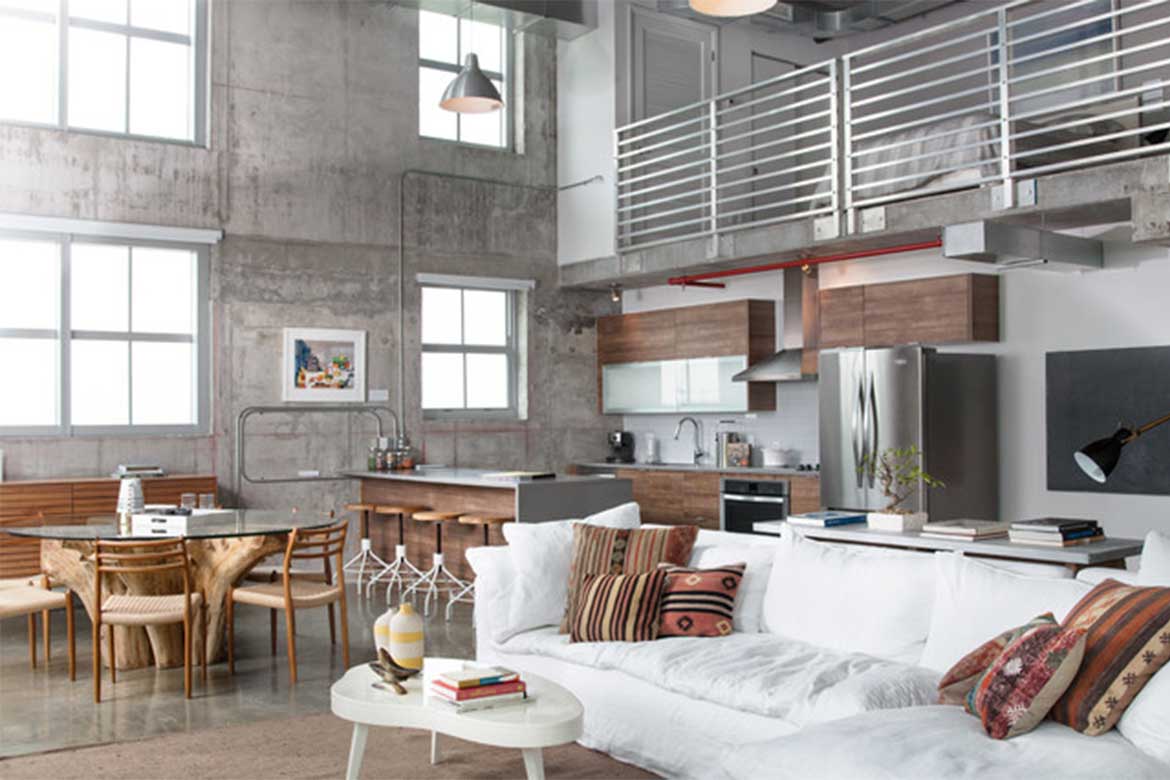

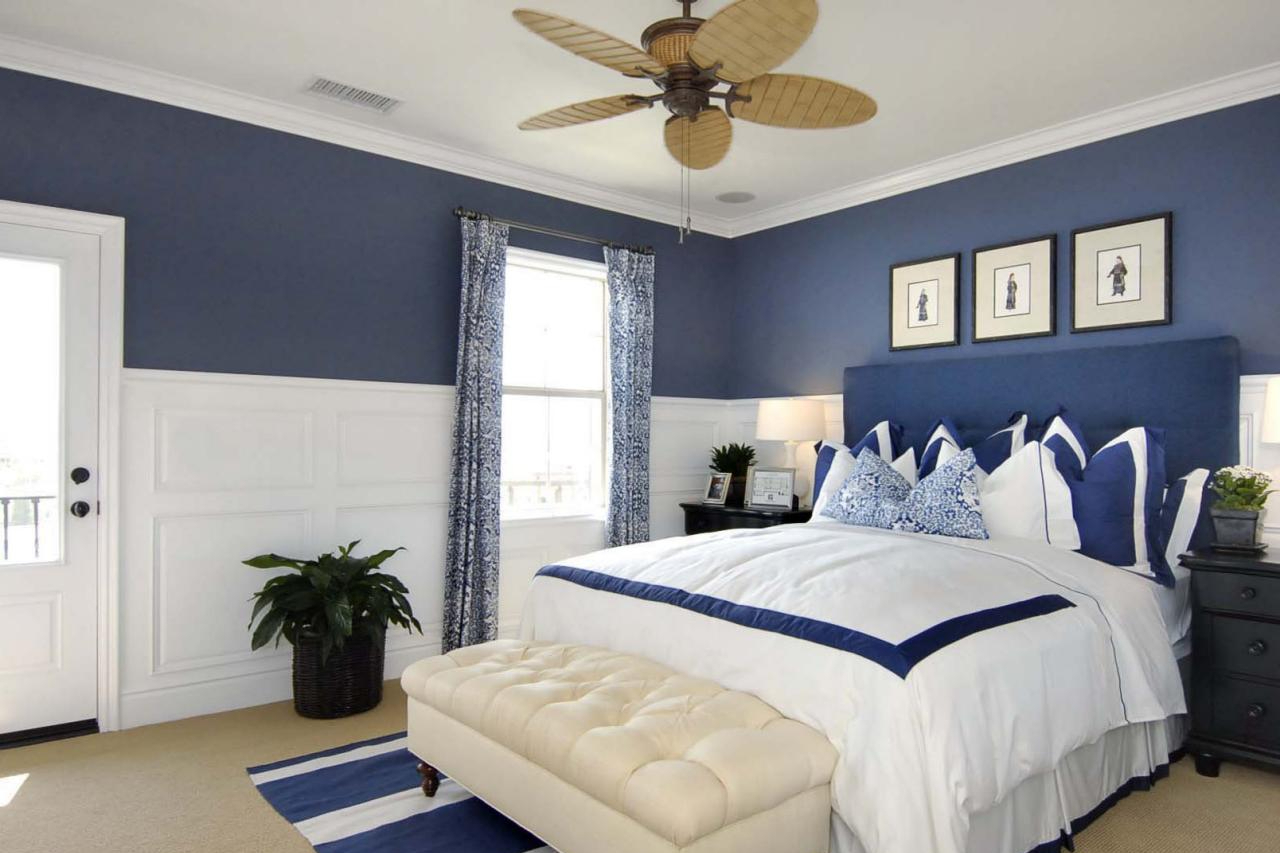
 Every host wants their guests to feel comfortable. Staying with friends who have an absolutely killer guest room where you feel pampered and sleep like a baby makes you want to create one of the same kinds of space. What does it take to create a great guest room? Which features will make your guests feel most at home and leave them talking about how much they’ve enjoyed their stay? We’re here to help figure that out. Read a few tips we have put together to help you create the ultimate guest room. To take your guest room to the next level will usually require a professional remodeler.
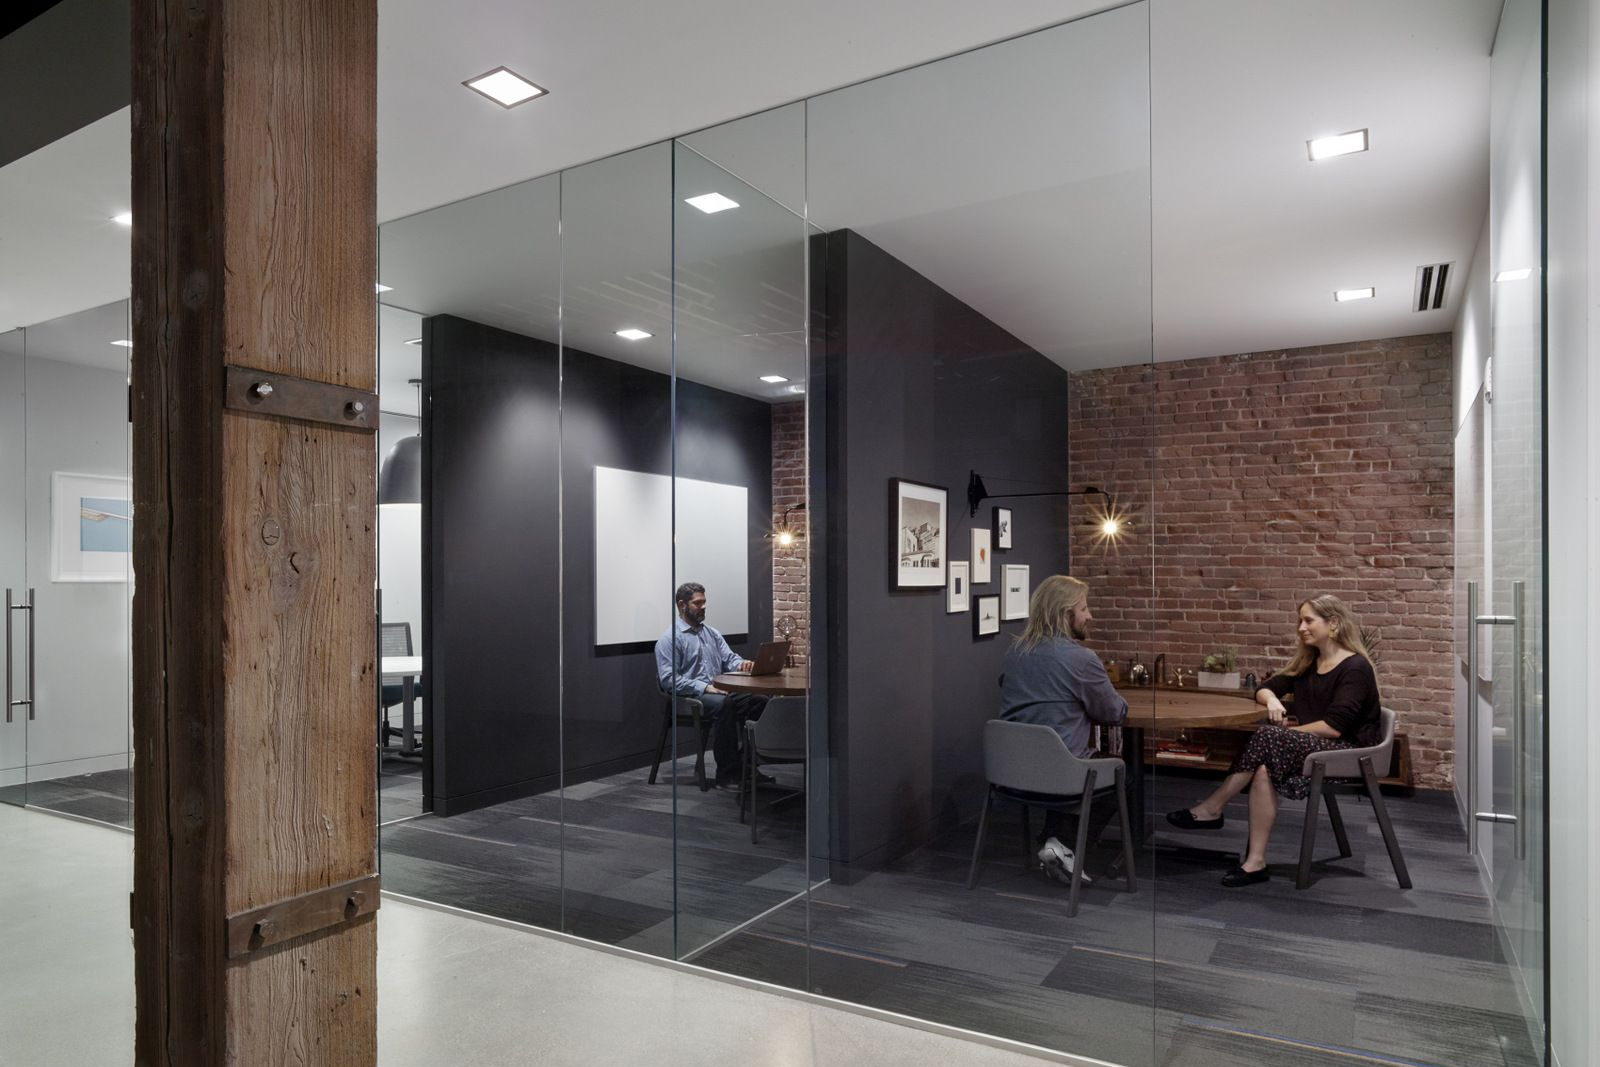


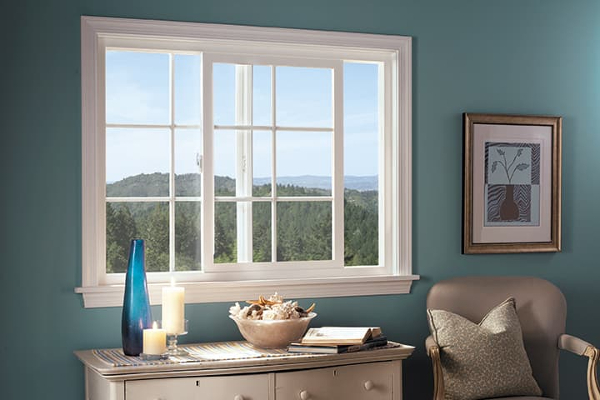
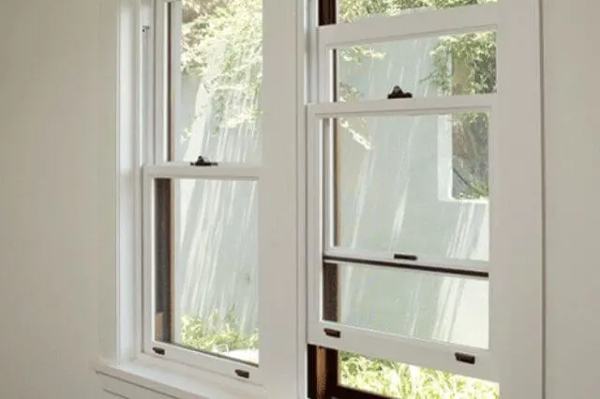
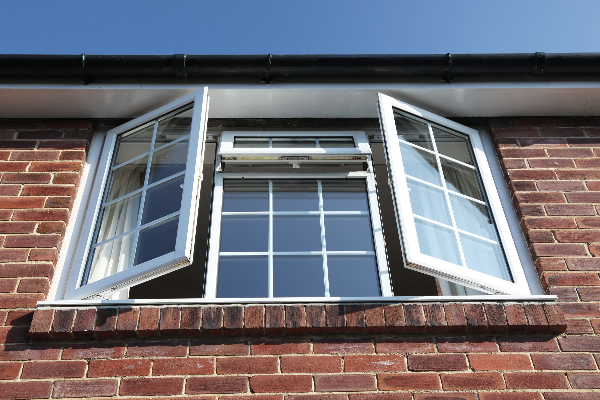
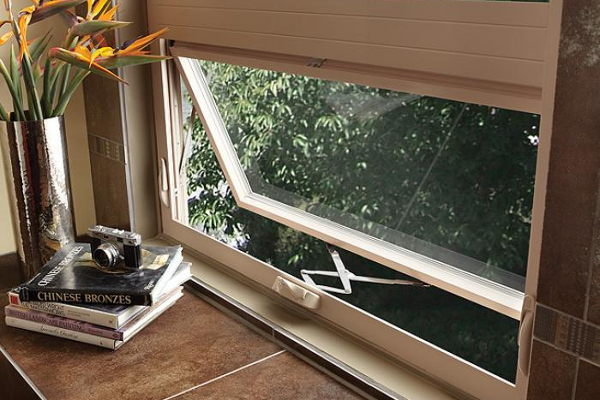
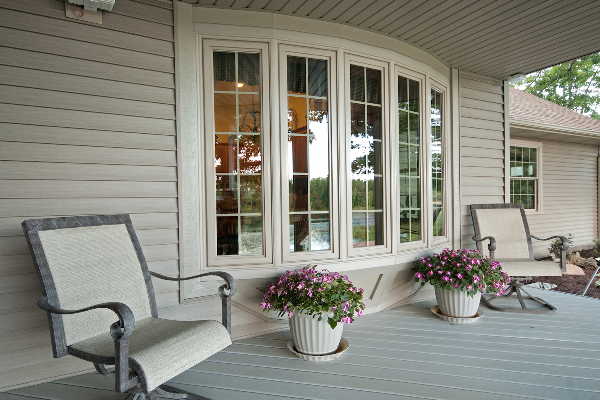
 Sometimes it is possible to repair damaged windows. You need to consider the condition of the frame, the glass, the sill, or the hardware to make a cost-effective assessment. We would like to give you a few suggestions about replacing or repairing your windows…